Learn Setting up Python web server with Flask in Raspberry Pi. Create a web server using the Raspberry Pi and Python Code. You can also include GPIO Pins in the webserver. Learn about building a web server and run it locally on Raspberry Pi.
Steps for creating Python web server with Flask in Raspberry Pi
Step 1: Install Flask in Raspberry Pi
Start the Terminal window in Raspberry Pi and install Flask by entering below given command
sudo apt-get install python3-flask
Step 2: Building a Sample Flask web application “Hello World”
- Open Python 3
- Create a new file and write the below-given sample code in it
- Run the code with a python shell.
- Learn information about running the python code.
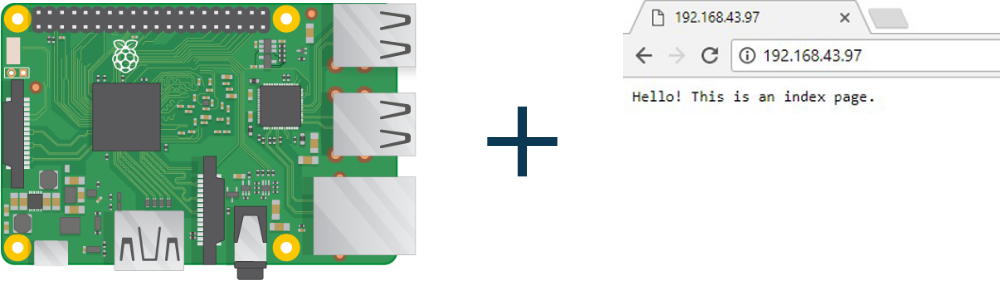
- Open the web browser and navigate to below-given URL to open the web application
Step 3: Building an advanced web application with HTML/CSS
- Create a new folder for web application
- Create a new folder named “templates” inside the main folder
- Make a new template in “templates” folder of HTML file with name “iotguider.html”
<html>
<body>
<h1>Iotguider!</h1>
</body>
</html>
- Open Python 3
- Create a new file and write the below-given sample code in it
- Run the code with a python shell. For more information about running code, click here.
- Open the web browser and navigate to below-given URL to open the web application
Learn to create an advanced sample web server using Flask in Raspberry Pi.
Learn basic hardware information of Raspberry Pi 3.